Remove and change bands
-
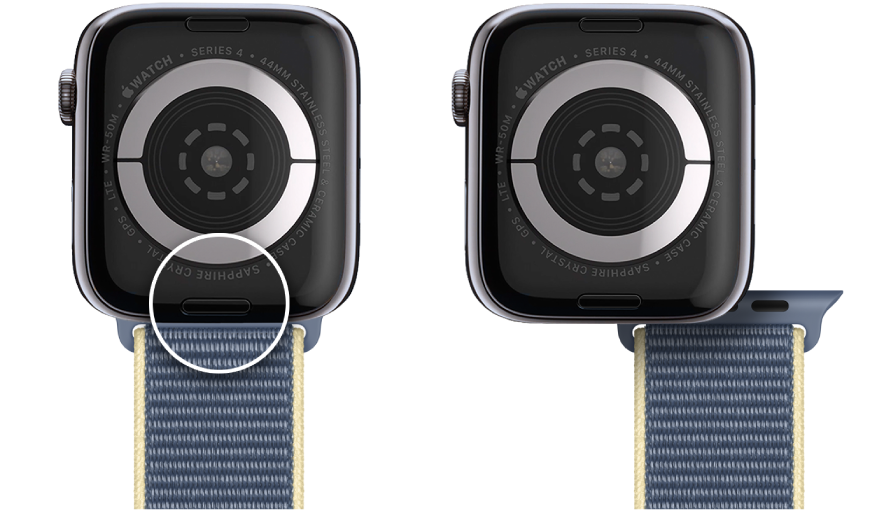
Hold down the band release button on your Apple Watch.
-
Slide the band across to remove it, then slide the new band in.
Never force a band into the slot. If you’re having trouble removing or inserting a band, hold down the band release button again.
Never force the band into the slot. If you don't feel or hear a click, slide the band to the left, then to the right. If the band is installed properly, it won’t freely slide until you hold down the band release button.
If the band still doesn’t lock, center the band, and push it into place. Then carefully wiggle the band up and down. Don't wear your Apple Watch if the band is sliding.
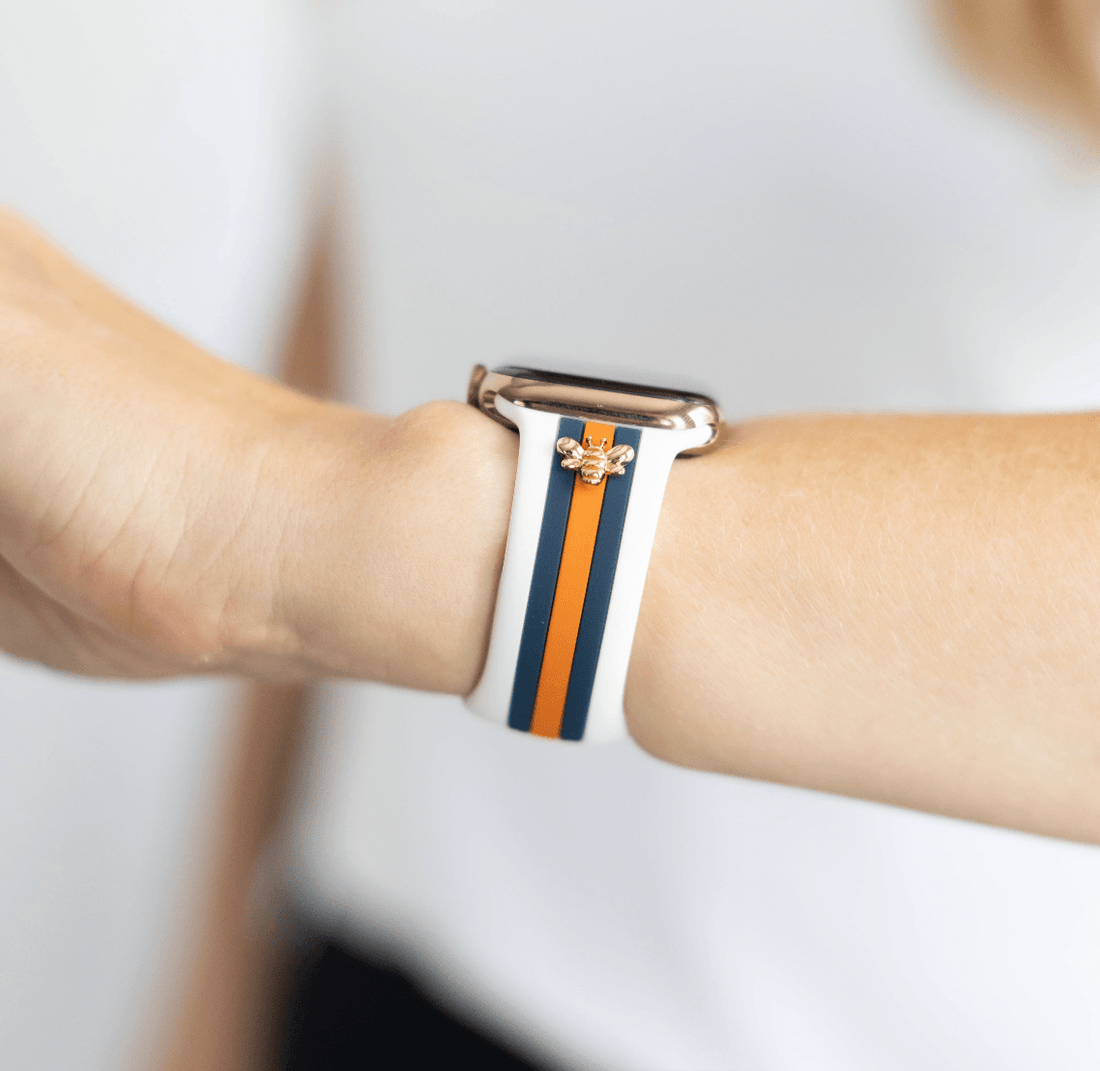
How To Fasten The Band
For optimal performance, your Apple Watch should fit closely on your wrist.
The back of your Apple Watch needs skin contact for features like wrist detection, haptic notifications, and the heart rate sensor. Wearing your Apple Watch with the right fit—not too tight, not too loose, and with room for your skin to breathe—keeps you comfortable and lets the sensors do their job. In addition, the sensors work only when you wear your Apple Watch on the top of your wrist.